Present at the Saturday night event were three of my uplines in Stampin' Up! who made the top 100 in demonstrators in Stampin' Up!. What a thrill to be in the presence of these creative, inspiring minds. They are constantly motivating and coaching us to succeed and recognizing us for our achievements. Thought it was time to acknowledge them.

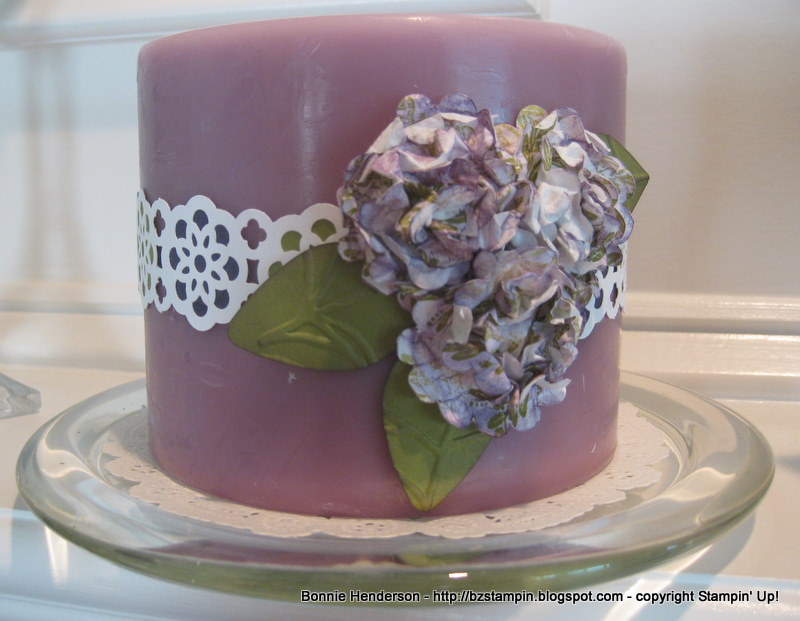

Using the Lace Ribbon Border punch (pg 211) , I created a band for the vase and the candles (their gifts). On the candles, I punched out coordinating 1" circle (pg 212) cardstock pieces (elegant eggplant and old olive cardstock) to place behind the punched out border (see above). On the vase band, I ran 1/8" taffeta ribbon (pg 195) through the punched out lace border.
The leaves of the hydrangia were cut out using the Island Floral Bigz Die (pg 222) and embossing them with the Spider Web Embossing Folder (pg 218) and then sponging it with rich razzleberry ink on old olive cardstock.
The hydrangias (flowers) were made using a 1 3/4" Scallop Circle punch (pg 210) - whisper white cardstock. For each flower piece I punched out two scallop circles -- on these candle flowers that means 6 pieces total-- 2 pieces for the vase flower. I then ran them through the Crimper (pg 207) several times to break down the fibers in the papers. Then I separated each circle cardstock piece into two layers. I stamped a line-art image (such as the leafy image from Best Friends Forever-pg. 90-- in old olive ink) to give it a veiny look and then I sponged rich razzleberry ink over the edges of each layer. For each flower piece, I layered all four pieces, adhering each one in the center with Tomboy glue. When the glue was dry, I simply scrunched up the layers to form the individual flowers. I will be having a class on these flowers soon. Here's another card I made using the same technique with slightly different leaves:

Thank you Kim, Michelle and Janet for sharing so much of yourselves to help us enjoy all the benefits of being a demonstrator with Stampin' Up! If you would ever like to be part of this awesome Stampin' Up! team, please contact me! Some days I have to pinch myself ... is this a job?????? I feel like I'm playing every day!
1 comment:
Very nice! Love the candle.
Sheri Bradley
Post a Comment